Introduction
Peppol (Pan-European Public Procurement On-Line) is a global network for electronic document exchange, widely adopted for e-invoicing across multiple countries. It provides a standardized protocol for companies to exchange business documents like invoices, credit notes, and purchase orders. The Peppol network is particularly popular in:- Nordic countries (Norway, Finland)
- Asia-Pacific region (Japan, Singapore, Malaysia, Australia, New Zealand)
- Several EU countries for business-to-government invoicing (Germany, Italy, Croatia)
Setup
Let’s prepare your workspace to work with Peppol. We’ll configure the Peppol app and create three workflows:- Invoice issuance workflow: Send invoices through the Peppol network
- Invoice reception workflow: Receive invoices from the Peppol network
- Party registration workflow: Programmatically onboard companies (Parties) with Invopop
1
Connect the Peppol app
- Within the Console, navigate to Configuration → Apps
- Find the Peppol app in the list
- Click Connect to activate it. The Peppol app should now appear in the list of Enabled apps
2
Configure a workflow to issue invoices
Now we’ll create the workflow that converts invoices to a valid Peppol format and sends them through the Peppol network. In this example, we’ll generate a Peppol BIS Billing UBL 3.0 document.Skip this step if you only want to receive invoices via Peppol.
- Template
- Code
- Build from scratch
Peppol issue invoice workflow
This workflow convert a GOBL document into the Peppol format and sends it to the network
3
Configure a workflow to receive invoices
- Template
- Code
- Build from scratch
Peppol receive document workflow
This workflow receives incoming documents from the Peppol network and converts them to the GOBL format.
4
Configure the Peppol app
Within the Console, navigate to Configuration → Apps, find the Peppol App and click Configure. You’ll need to set two fields:
- Incoming Workflow: Select the Receive Invoice Workflow created in Step 3. This is where the app will send incoming invoices (expenses) received from the Peppol network.
5
Configure a Party registration workflow
This workflow onboards companies (Peppol participants) to Invopop before they can issue or receive invoices. If you’re managing your own invoices only, you may use this workflow just once. However, if you’re offering Peppol to your customers through Invopop (white-label use case), you’ll run this workflow for each merchant you onboard.
- Template
- Code
- Build from scratch
Peppol supplier registration workflow
Onboards Peppol participants by sending a registration link
Running
After setup, you can perform three key operations with Peppol in Invopop: onboarding entities (parties) so they can use Peppol, sending invoices through Peppol, and receiving Peppol invoices.Registering parties
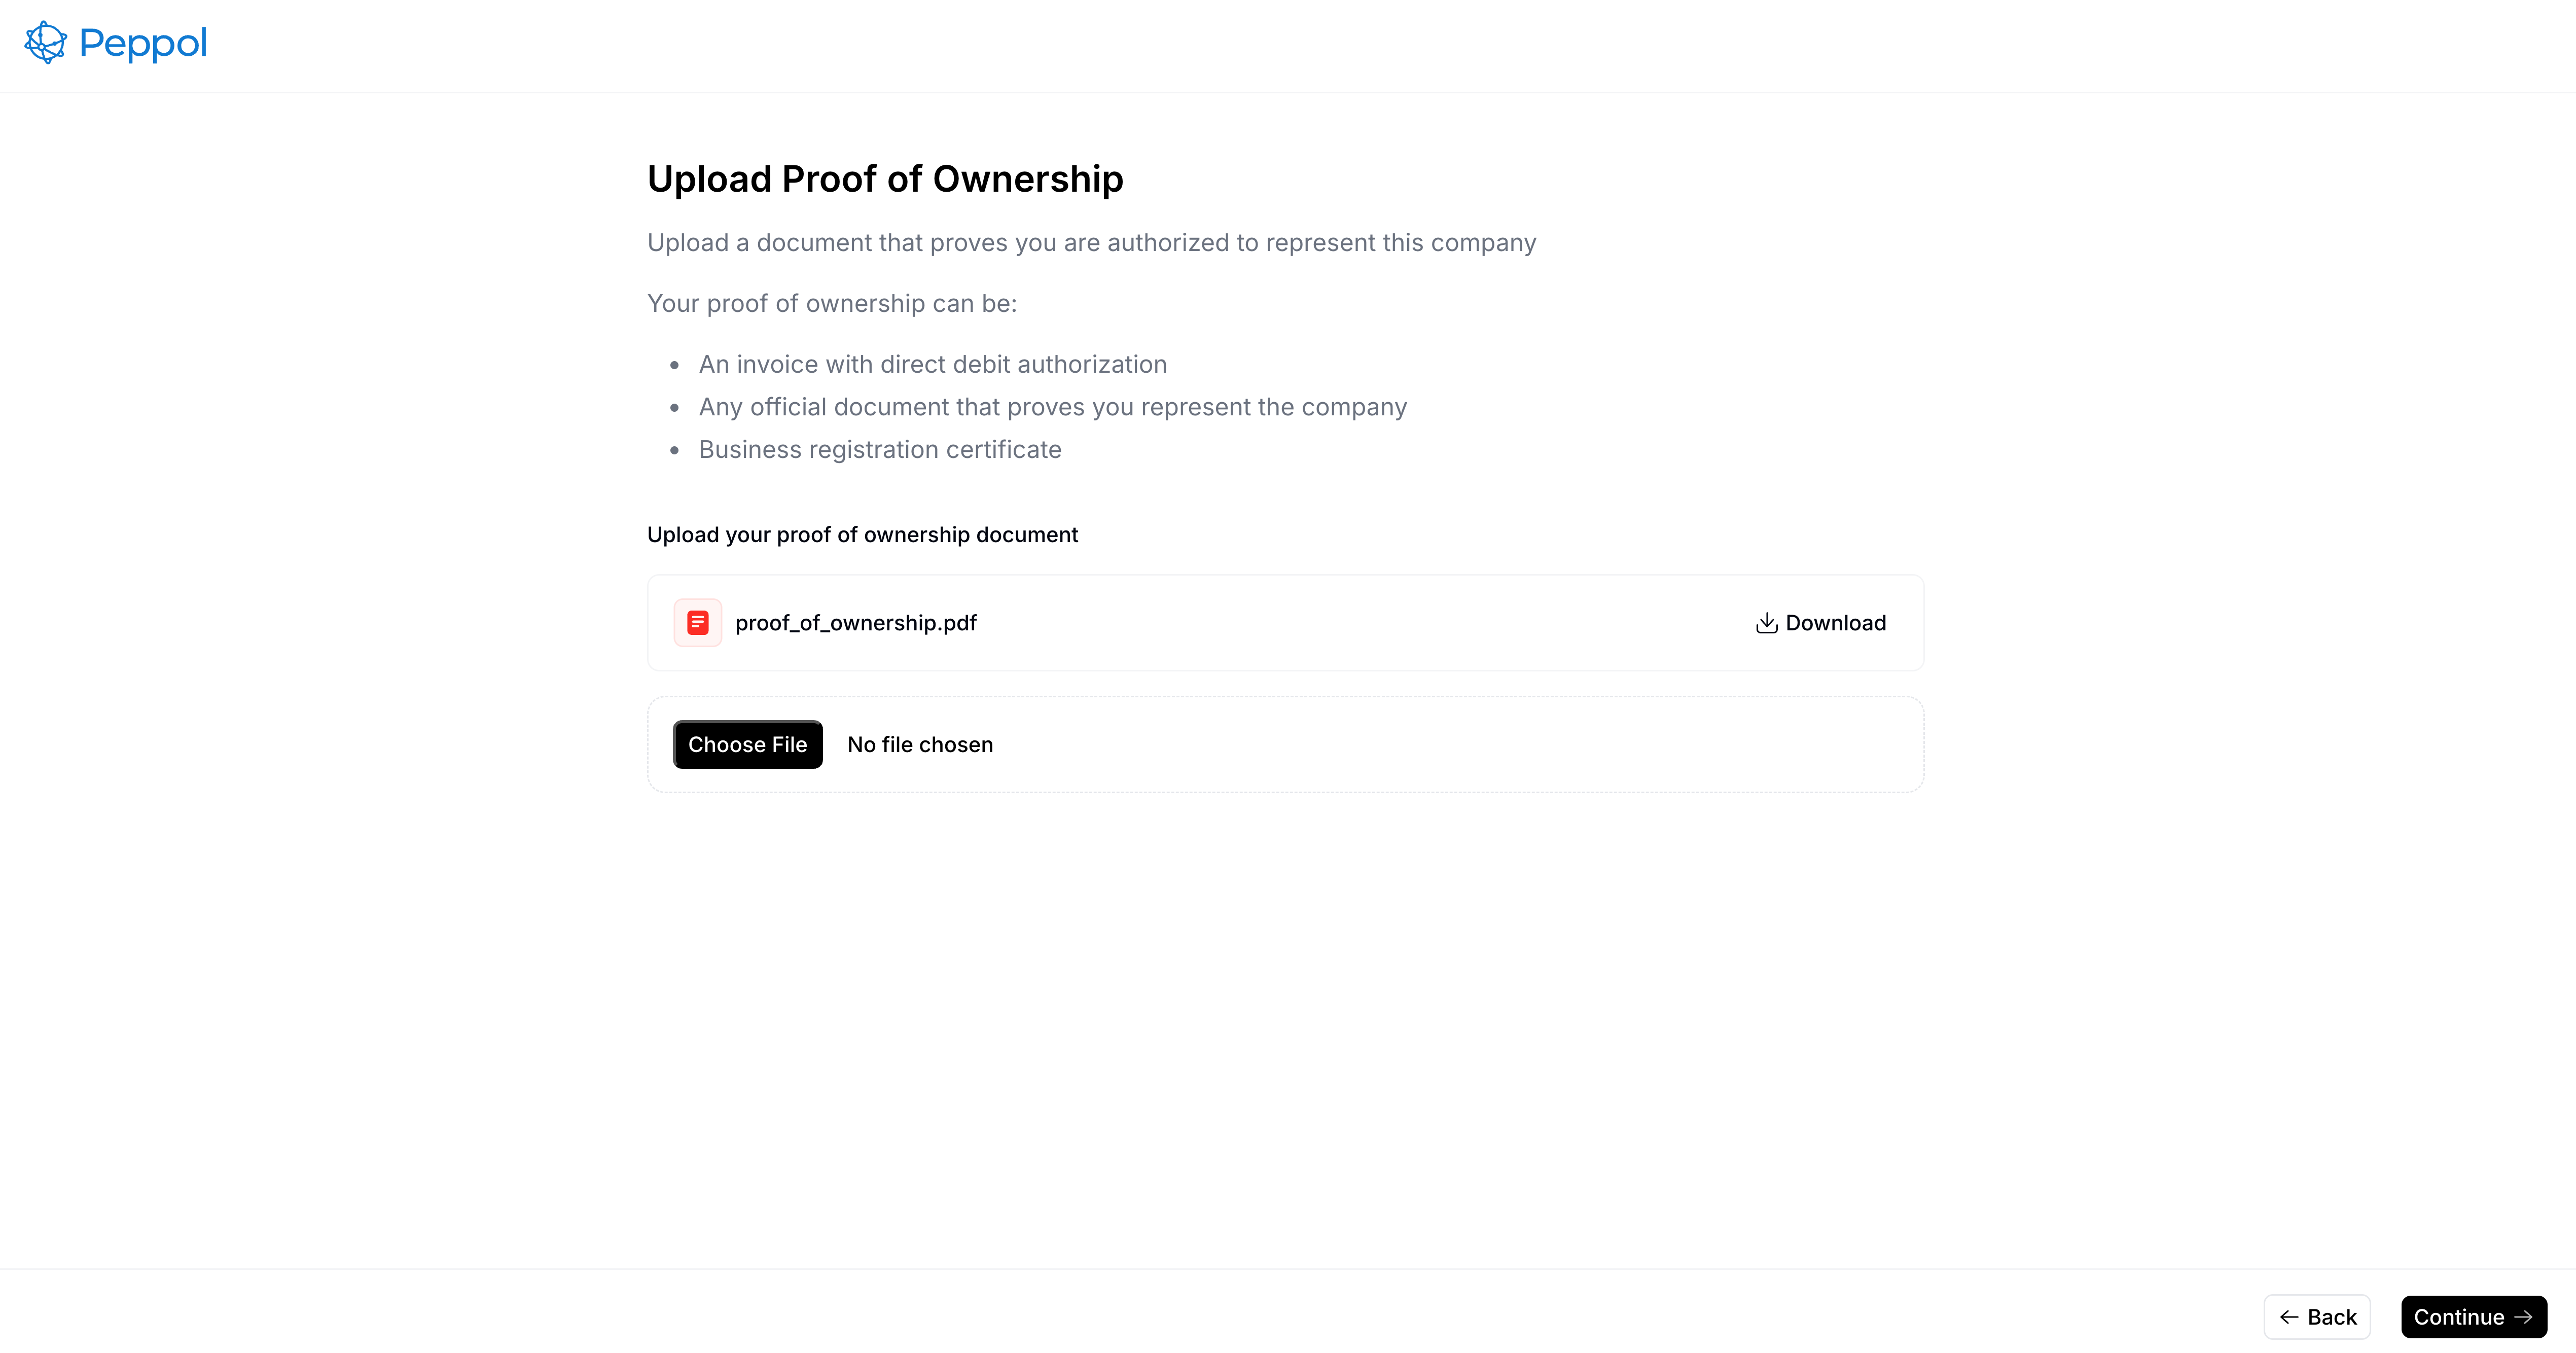
Business entities are represented in Invopop as GOBL org.party objects, which we call Parties. Peppol requires Invopop to collect proof of ownership for regulatory compliance. As outlined in Section 3.3 End user Identification of the Internal Regulations II document, key details such as VAT number, address, contact information, and company name must be provided and validated during registration. To register a party:- Upload it to the Silo with required company information
- Send it to the party registration workflow
Upload a party document
You can upload parties via the Create an Entry API endpoint or manually through the Console. For this guide, we’ll demonstrate the manual process:- Find the Contacts section in the sidebar and click Suppliers
- Click + New Supplier to open the editor
- Enter the required information (or use the example below)
- Company name (fiscal name)
- VAT number (tax ID)
- Complete company address
- Contact information
- Peppol participant ID
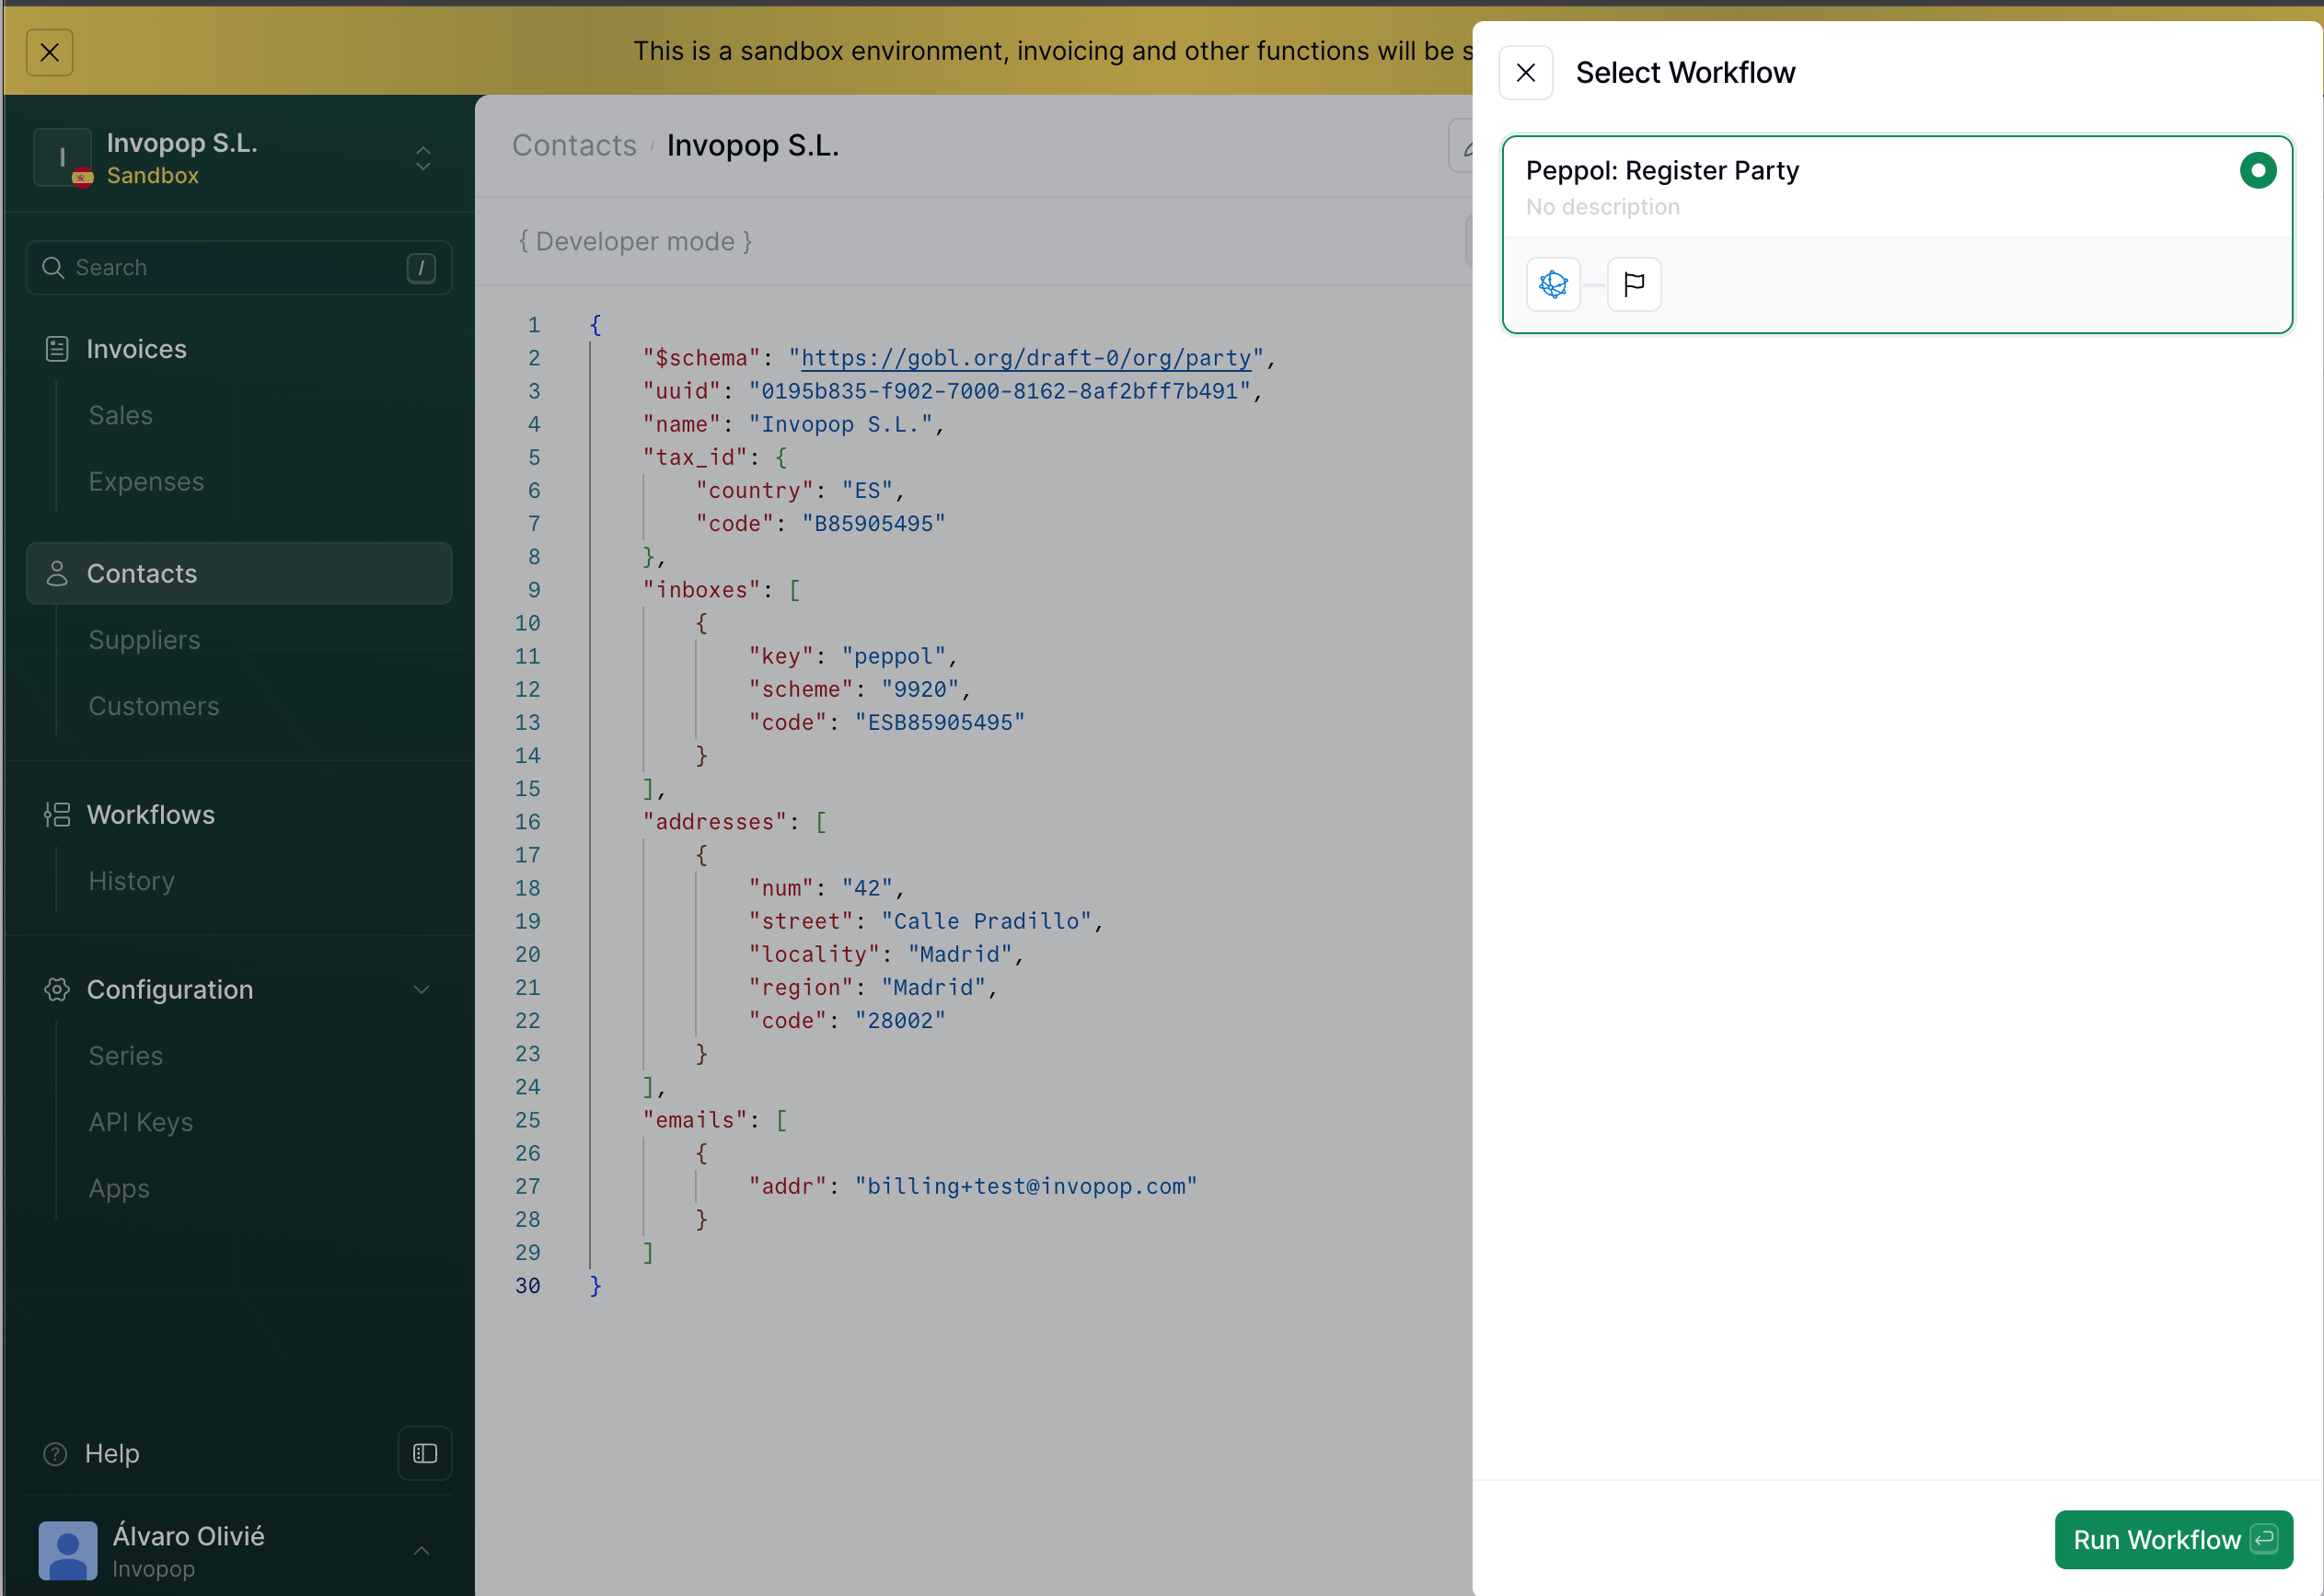
Example: Supplier
Example: Supplier
Peppol party example
Send to the registration workflow
Once the document is saved:- Click the Select Workflow button
- Select the Register Supplier workflow created during setup
- Click Run Workflow
Programmatic registration (white-label)
For programmatic integration, you can use our API instead of the webform. This is particularly useful for white-label implementations where you want to integrate the registration process into your own application. You can achieve this by uploading the proof of ownership document using the API. This launches the validation process automatically.Completion
When Invopop approves your registration, we will automatically register your party with the Peppol network as before. You’ll see the Peppol Participant ID in the Meta tab of the entry and the supplier’s entry will contain aninboxes array. This information should be included in each invoice issued by this supplier.

Peppol participant inboxes
Sending invoices
To send an invoice, you need to store it as a Silo Entry with the- Store it as a Silo Entry with the Peppol inboxes previously obtained.
- Send it to the Sending Invoice Workflow created during setup
- Set the appropriate
$regimefield based on the issuer’s country (e.g.,NOfor Norway,FIfor Finland) - Add the
eu-en16931-v2017addon to enable validations and extensions needed for Peppol
Example: Peppol Invoice
Example: Peppol Invoice
Peppol B2B Invoice
Receiving invoices
Invopop automatically processes invoices received from the Peppol network using your configured Incoming Workflow. The workflow converts Peppol documents to GOBL format and creates Silo Entries for each invoice. Configure your workflow with webhooks or Google Drive integration to deliver these invoices to your systems.FAQ
Please contact the Invopop support team if you have any questions that are not listed here.What visibility do I need to have in my Peppol Party?
What visibility do I need to have in my Peppol Party?
The visibility of your Peppol Party determines what documents you can send and receive.
smp: Only SMP, should be used for testingsmp+sml: SMP and SML, useful when you want to send documents but not receive themsmp+sml+peppol: SMP, SML, and Peppol Directory, recommended for both sending and receiving documents as you will be visible in the Peppol Directory
How can I disable Peppol for a Party?
How can I disable Peppol for a Party?
You can disable Peppol for a Party by running a workflow with the Register Peppol Party step and setting the Status to
Disabled.