Introduction
The NFS-e (Nota Fiscal de Serviços Eletrônica) is the electronic service invoice used in Brazil to report tax information to municipalities. Each municipality has its own rules, format, and API for issuing service notes. Invopop’s “Notas Fiscais Eletrônicas” app provides a unified way to issue NFS-e documents across over 2000 municipalities using GOBL. You can find the full list of supported municipalities here. This guide will walk you through the steps required first to register a supplier and then issue service notes in their name.Prerequisites
To issue service notes in Brazil, you will need:- Supplier details, including:
- name,
- CNPJ (Cadastro Nacional da Pessoa Jurídica),
- address,
- municipality code (IGBE),
- municipal registration number,
- whether the supplier opts into the “Simples Nacional” tax regime,
- whether the supplier benefits from a fiscal incentive, and,
- optionally, any special tax regime (MEI, estimated, coop…) the supplier is subject to.
- Customer details.
- Details of the service provided, including quantity, price, applicable ISS rate, and service code (Código Item Lista Serviço) as defined by the municipality.
- To have chosen an invoice series.
- A certificate and password accepted by the municipality to send service notes in the name of every supplier.
Setup
There are four key processes to prepare:- create supplier post-registration workflow,
- connect the Notas Fiscais Eletrônicas Brazil app,
- configure a supplier registration workflow, and,
- prepare an invoicing workflow.
These instructions apply to both the sandbox and live environments. Please note that the sandbox environment is simulated, and most responses are mocked. You’ll still need to register suppliers in the sandbox, but the company details, certificates or passwords don’t need to be valid or real.
1
Create supplier post-registration workflow
- Template
- Code
- Build from scratch
NFS-e supplier post-registration workflow
This workflow marks suppliers as
Registered. You will select this workflow in the “Notas Fiscais Eletrônicas Brazil” app configuration later.2
Connect the Notas Fiscais Eletrônicas Brazil App
Enter the Configuration section, then tap Apps. Tap on the Connect button of the Notas Fiscais Eletrônicas Brazil app.
3
Configure the supplier registration workflow
- Template
- Code
- Build from scratch
NFS-e register supplier workflow
This workflow will issue a registration request for a supplier to complete in order to issue invoices through NFS-e.
4
Prepare Invoice Workflow
- Template
- Code
- Build from scratch
NFS-e issue invoice workflow
This workflow will issue an invoice through NFS-e.
Running
In this section, we’ll provide details on how to first persist and register a supplier, followed by issuing service notes on their behalf. As usual, the recommended approach for running jobs is to perform two steps; first upload the document to the silo, second create a job.Register a Supplier
Suppliers can be registered either manually via the Invopop Console or programmatically via the API. The process is essentially the same, so we’ll demonstrate the manual method for this guide. Find the Contacts section of the sidebar and click Suppliers. Tap the + New Supplier button to be presented with a new editor. Copy and paste the following example that uses a fictitious example. This will only work in the sandbox environment; in production, you’ll need the details of an actual company:Supplier for Sandbox
Supplier for Sandbox
Brazil supplier example
Processing state. Tap the Meta tab to see the registration link:
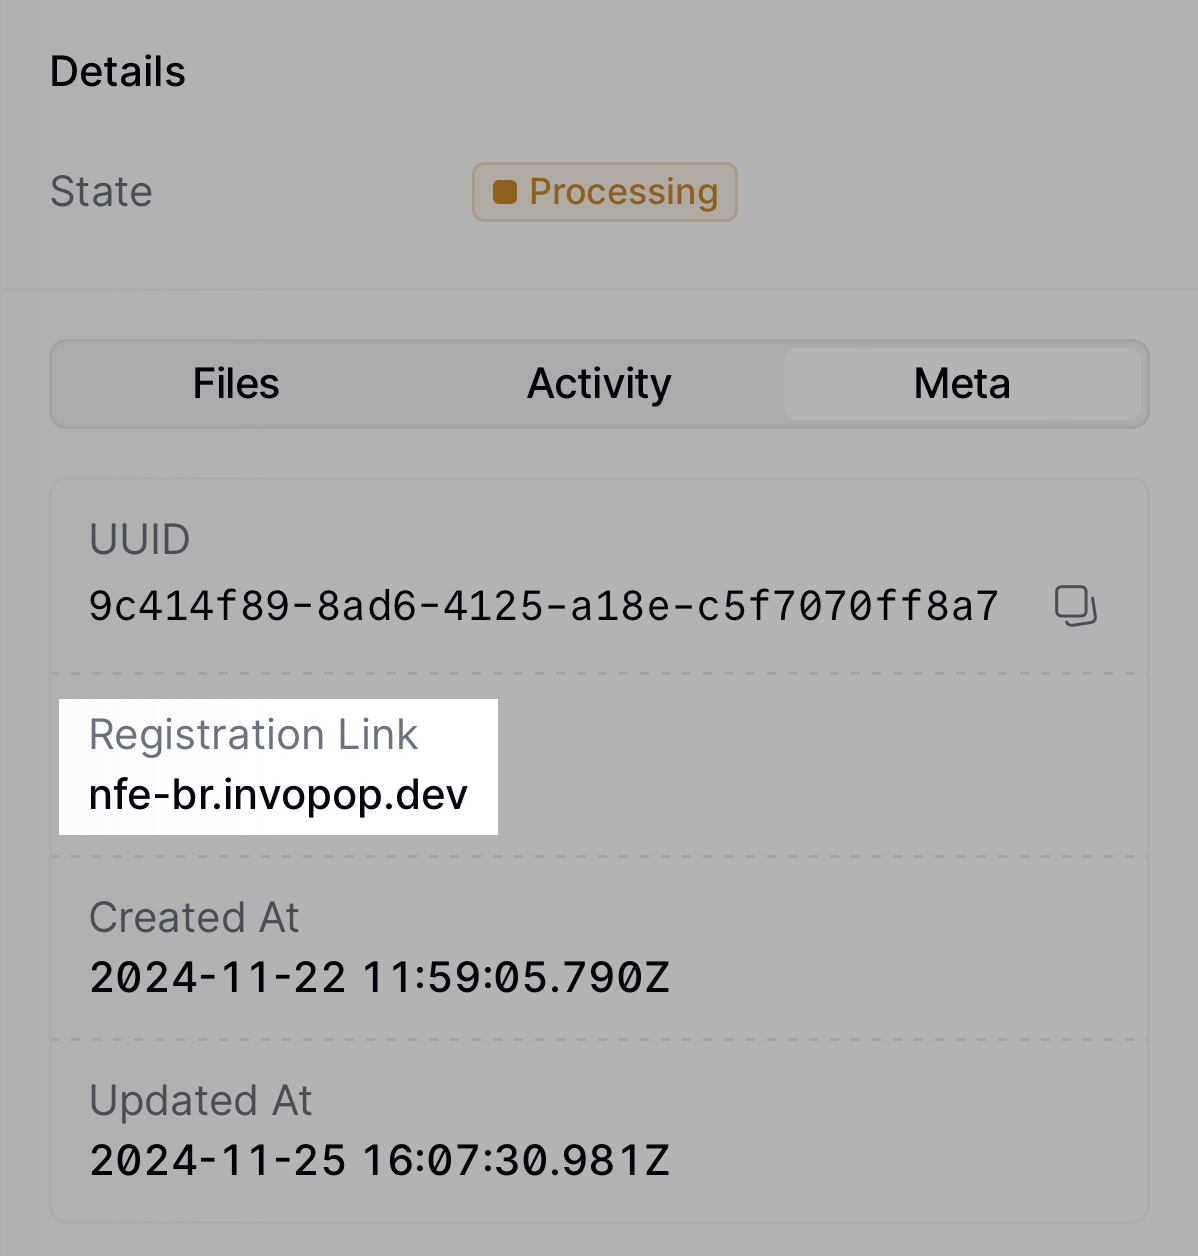
You can access the registration link via the API by fetching the silo
entry and reading the
meta row where
the key is set to registration-link.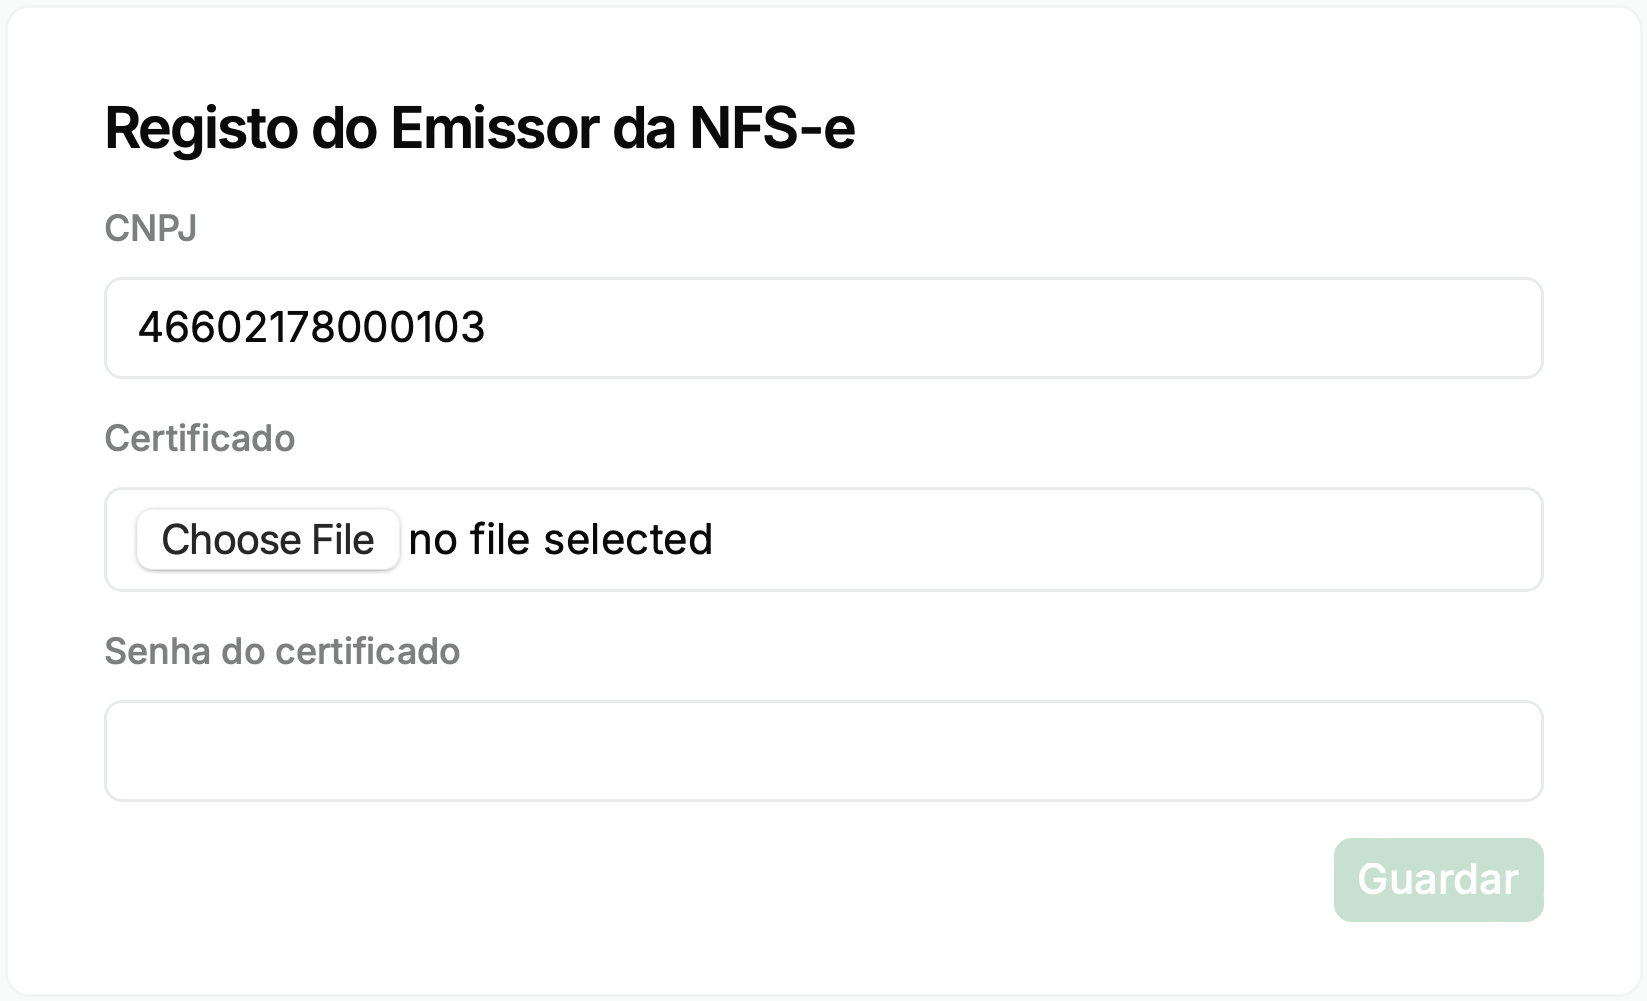
registered.
From this point on, you can send service notes on behalf of the supplier.
Send a Services Invoice
The following examples are of partial GOBL documents you can copy and paste directly into the Invopop Console or store via the API as silo entries. Then, you must run the “Issue NFS-e” workflow created during setup.In the sandbox environment, you’ll notice that executing the workflow will always result in the same PDF and XML being attached to the silo entry. These are mock-up files returned by the sandbox environment for testing purposes.In production, the actual XML file sent to the municipality and the actual PDF generated will be attached to the silo entry.
$regionto be set toBR$addonsto includebr-nfse-v1
B2B Service Note
B2B Service Note
In this example, we’re issuing a simple service note from a Brazilian supplier to another Brazilian customer.Notice:
- we’ve added the
br-nfse-v1addon; this ensures the document will be validated using the NFS-e rules built into the GOBL library, - extensions (
ext) and identities have been used in multiple locations for fields whose values cannot be determined any other way, - ISS percentage is provided explicitly as it varies depending on the municipality and type of service, and,
- there are no totals or calculations; all these will be made automatically when uploading.
NFS-e Service Note
FAQ
Please contact the [Invopop support team] (email:support@invopop.com) if you have any questions that are not listed here.Do you support other types of “notas fiscais” such as NF-e or NFC-e?
Do you support other types of “notas fiscais” such as NF-e or NFC-e?
At the moment, only NFS-e is supported. We are working on adding support for NF-e (for products) and NFC-e (for final consumers).
Where can I find the mapping of GOBL fields to NFS-e?
Where can I find the mapping of GOBL fields to NFS-e?
For further details on how GOBL prepares data for conversion, see the Brazil Tax Regime.